Friday, April 22, 2011

Earth Day Crafting


I checked out this book and found a neat book  to make using the subscription inserts that come in magazines. So this is why I'm calling the post Earth Day Crafting since I am repurposing.  The instructions for the Custom Bound Books is on page 64. You can really use any size or type of paper you have on hand.


 You will need 10 pieces of paper.  Three pieces will be for the pages of the book, Four pieces will work as connectors, two pieces for  the title pages and one piece will be used to create the books spine.
 Step 1 {Make the pages for the book}
Fold one short end to the middle not creasing the middle section
Do this on the other short side.   Fold three pieces in this manner. Your paper now looks like this:
 Now fold the short sides again to the middle.
 Step 2 {Make  the Connectors}
Fold in the same way as for the pages but fold one of the sides overlapping the other side by 1/8 of an inch.  The connectors will be 1/8" smaller.
Step 3 {Make the covers}  You will need two pieces of paper and these pieces are folded the same way you folded the pages.
Step 4 {Make the Spine}  You will need one piece of paper to make the spine.  Fold this piece the same way you folded the connectors.  Arrange your pieces of paper in order before joining them.
Step 5 - Join the pages to the connectors by slipping the connector into the page making sure all the open edges are all on the same side.  Join in this manner:
1 connector, 1 page, 1 connector, 1 page, 1 connector, 1 page ending with 1 connector.
Now join a cover to each side.
Step 6 {Fold the book in accordion style}
The opposite side of the accordion looks like this:
The pages of the book
Step 7 {Use the last piece of paper to make the spine by......
Slipping into the two covers.   I applied a small amount of glue to the spine piece facing you.
The finished book.
This little book is perfect for jotting down Memory verses.

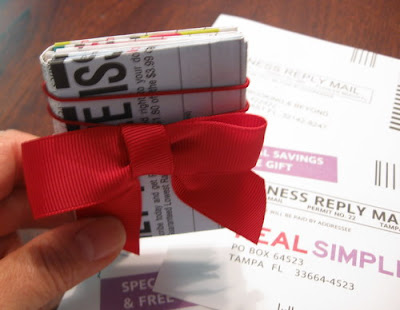
I also made a birthday card booklet using this technique.  I used 8-1/2 by 11 inches paper.  Keep in mind that the connectors will not be seen so you can use paper that has some writing.  You can even pre print your pieces of paper to make a mini scrapbook.  This I am going to try next.  The pretty illustrations on this birthday card booklet are from the Graphics Fairy.  For a more finished spine, you can cut a piece of paper and glue to the spine. I used a piece of magazine paper to make the spine strip.

'Till we meet again....


Jabberbug

Sunday, April 17, 2011

Seed Starters from Newspapers


Spring Fever has caused me to go on a planting spree!  I decided this year to try growing some of my plants from seeds.  It really can save you some money if you don't mind the little extra work  that is involved.  It's actually very exciting to see a plant develop from seed.  With a little tender loving care you can be successful.  This first picture shows some of my Cherry Tomato Plants.  I can't wait for these to grow and start producing tomatoes.  The seeds were free and came from the Lost and Found from Mint Hill Library.

To plant seeds you need little containers.  I planted the first seeds in March and I was not successful since the temperature in my house was still a little too cool and the plants that began to develop were super thin.  The ones I planted in April have done much better.  The little seed starter boxes I made were made using newspaper.
 Step 1: Cut your newspaper to measure 9 inches square.

2. Fold the paper in a diagonal on all four sides.
3. Fold all four points to the middle where the two previous diagonals intercept.
Your paper should look like this:
4. Divide the square paper into thirds by eyeballing and fold up all four sides.
Your paper should look like this.  Don't forget to do this on two sides.
5. This is  tricky.  Hope you  can do it.  Fold two sides up along the previous creases made.

6.  After folding up first side bring the flap towards the inside of the box
Tuck folded side inside box and use your fingers to crease so flap stays put nicely.
Fold in the same way the other side.
The finished box should look like this.  Don't worry if the sides are not super even.  You will be using these to plant seeds and once you start watering they will be misshapen anyway.
You can plant these seed starters directly into the ground.
Happy Happy Gardening


Jabberbug

Sunday, April 10, 2011

Homemade Green Insecticidal Soap


This winter I noticed two of my plants had Whiteflies, my Jade plant and a Fern.  As soon as the temperatures got warmer I moved them outside.  At this time of the year as long as it does not get below 32 degree F, plants do Ok if they are put somewhat near the house.


A natural way of treating white flies, aphids, spider mites and scales is by spraying the plant with Insecticidal soap.  I had on hand Dr Woods Pure Tea Tree Castile Soap which contains  hemp oil, olive oil, tea tree oil, sea salt, citric acid and rosemary extract.  Dr Bronner's Castile soap is also all natural and will work well.
Castile Soap is mild enough to use on your face so it won't hurt your plants or pets and will attack the infestation.  Here's the recipe.

Green Insecticidal Soap
1 Quart of water
1 tablespoon Castile Soap
Dissolve the Castile soap in the water.  Pour into a spray bottle.  Label the bottle.
Tip: the Method All Purpose cleaner bottle holds 1 quart of water.
Spray the plant thoroughly preferably early in the morning or late in the afternoon.   Place the plant in a shady location during the treatment.  Do not spray in a sunny location.  Check the plant and repeat spraying after 3 days.  If it rains and the rain washes away the soap, you may spray again before the third day.
My infected Jade Plant


Jabberbug

Sunday, April 03, 2011

A Visit to the Carolina Raptor Center

The weather was perfect for today's visit to the Carolina Raptor Center which is located inside the Latta Plantation Nature Preserve. I had been there more than 20 years ago when the Center which cares for injured birds of prey was being established.

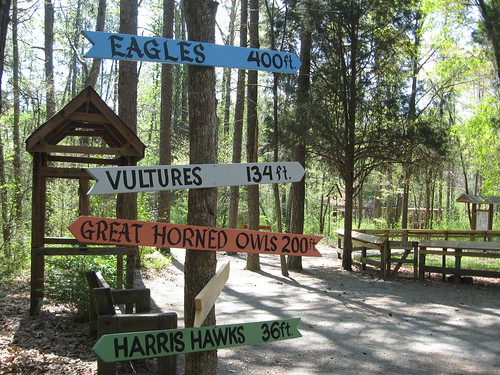
Signs at Carolina Raptor Center

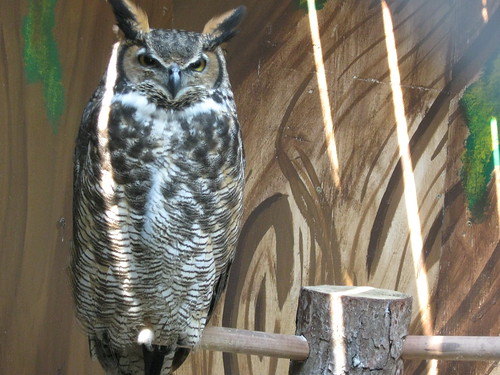
I did not take many pictures of the birds in cages. I did managed to take this one of Mathilda a majestic Great Horned Owl, who is also part of the Guardians of Ga'Hoole exhibit.

Mathilda Great Horned Owl

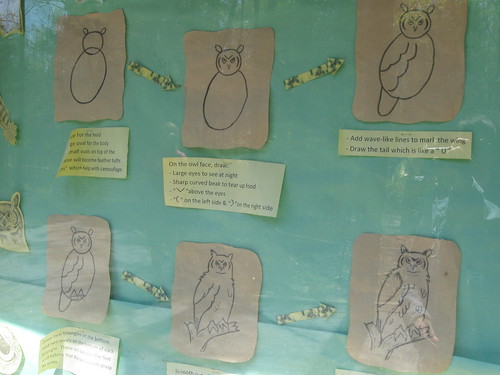
We walked the trails and came upon this neat illustration on how to draw an owl. Might have to try that someday.

How To Draw an Owl
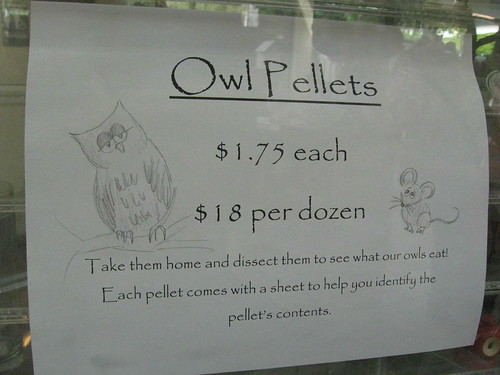
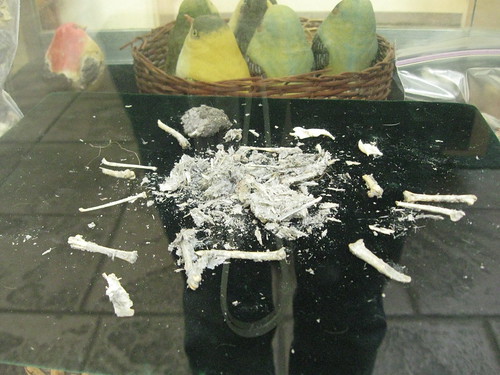
You could purchase Owl pellets in the Gift Shop.  You might wander what these are.  I did not know but owls regurgitate what they eat.

Owl Pellets

A close look at a dissected owl pellet will reveal what they eat. Owls need to consume bird or rodent bones to get calcium. That is why an Owl as cute as they are should never be kept as pets.
Owl Pellet Dissected

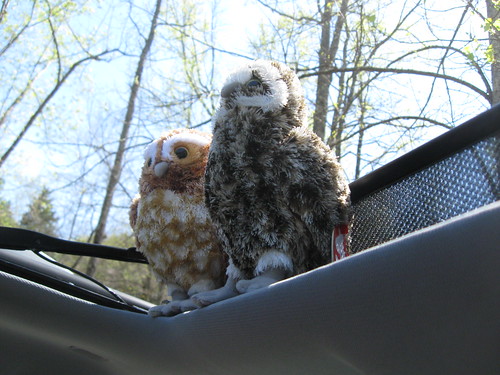
We finished walking the trails with one to spare before the Bird show so we walked back to the car and relaxed in the car. My souvenir Plush Owls perched on the Sunroof look so adorable. I want to keep them but not this time.
Plush Hoot Owls

The Volunteer in charge of the Bird Show was fantastic and quite knowledgeable of the Daytime Eating Birds of Prey. Here she educates the audience about the Cooper's Hawk.

A Volunteer Holding a Cooper's Hawk

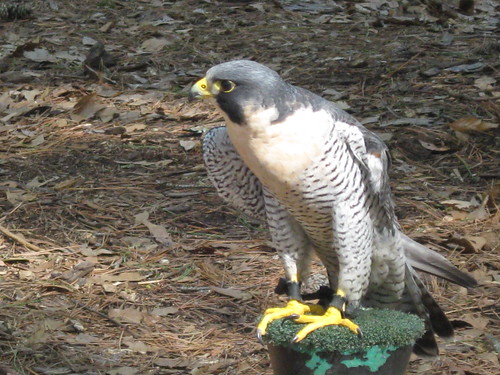
This Peregrine Falcon is around 7 years old and suffered injury to one of its wings. It's a little sad to see a beautiful bird like this achieve sustained flight. She assured everyone they have a good life at the Center and get quite used to living around people.

Peregrine Falcon * Falco Peregrinus

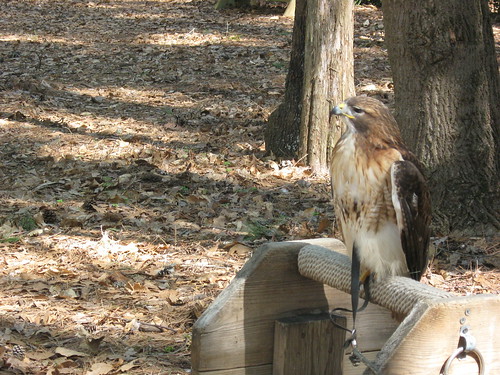
Last but not least the Red Tailed Hawk has been a resident at CRC more than 20 years.

Red Tailed Hawk * Buteo Jamaicensis
The admission to the Carolina Raptor Center is affordable and well worth what you will experience during your visit.


Jabberbug

Saturday, April 02, 2011

Homemade Laundry Detergent Revisited

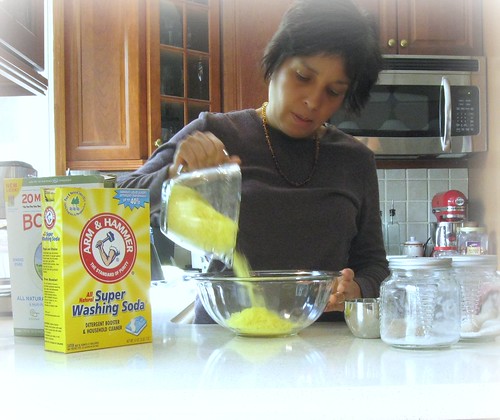
Making Laundry Detergent
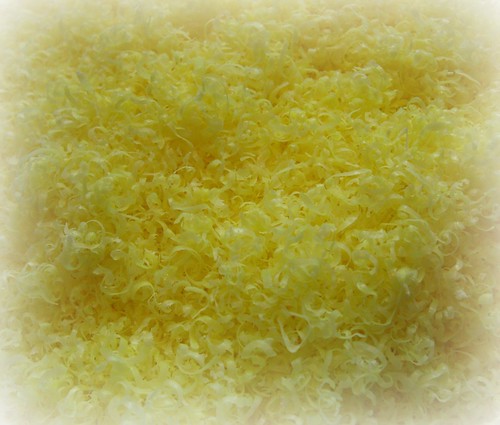
I am still making my own laundry detergent.  I made one change in the way I make it so I thought I would revisit this post  The only change I made is in the shredding of the Fels Naptha bar of soap.  I am now finely shredding the bar of soap using my metal  grater.  I usually do this while watching TV.  Cover your lap with a towel or cloth.  If you do not find Fels Naptha soap you can also use Ivory Soap.
Finely shredded Fels Naptha Soap

Finely Shredded Fels Naptha Soap
Recipe
1 Cup of Borax
1 Cup of Washing Soda
1 Bar of Fels Naptha Soap 
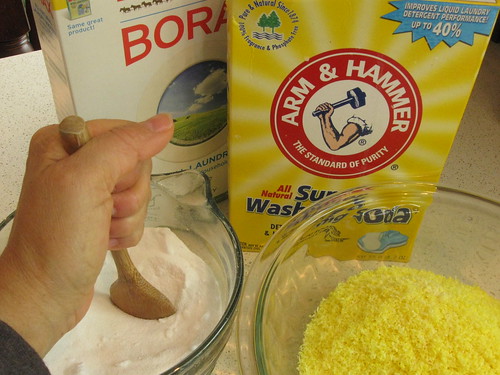
In a glass bowl combine well the Borax and the Washing Soda.
Homemade Laundry Detergent

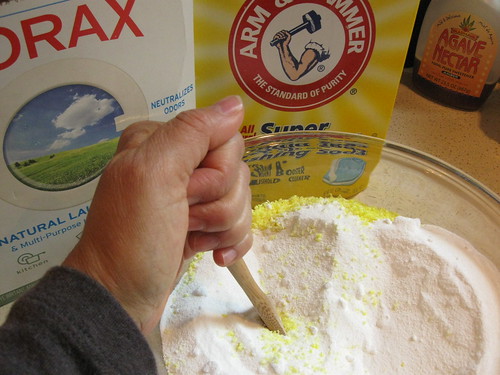
Mix well the Borax, Washing soda and finely grated Fels Naptha.  To even pulverize more you may use a food processor.
Homemade Laundry Detergent

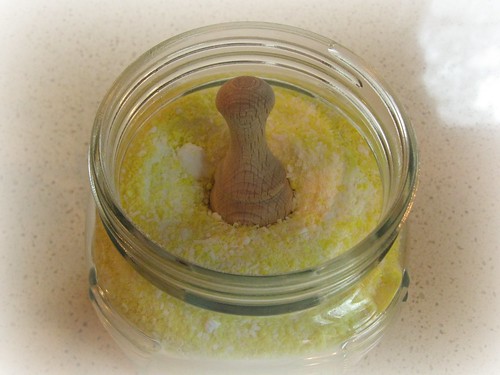
 Store your homemade detergent in a jar.  For one load use  1 tablespoon of the mix.  Sometimes I use 2 tablespoons for heavily soiled clothes.

Homemade Laundry Detergent
 This is a super economical recipe.  One box of Borax will yield over 9 cups and 1 one box of the washing soda will yield just under 7 cups.