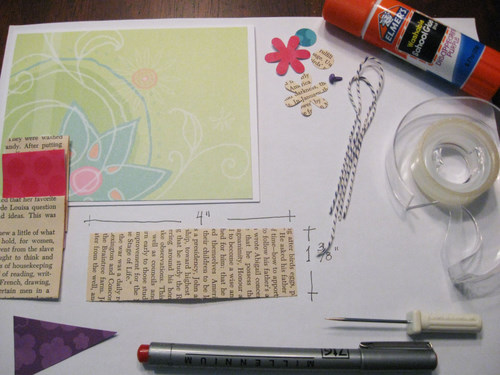
To make this very easy card, you will need scrap booking paper, paper from a discarded book, white cardstock (for the card), glue stick, an awl, a marker with a fine tip, double stick tape, a punch to cut the little flower, a small circle punch to cut the two circles for the flowers and twine.
From white card stock cut a piece that measures 5-1/2" by 8-1/2". Fold in half. Cut another piece from scrapbook paper which measures 4" by 5-1/2". Use small pieces of double stick tape and center scrapbook paper piece on top of the white card. The pennant shape pieces are made from a piece of scrapbook paper and from pages from an old discarded book. Cut this pieces t o measure 4" by 1-3/8". Fold each piece in half using the glue stick to hold in half. Using scissors cut into a pennant shape. Place the four pieces and secure to the card using the glue stick.

Using an awl puncture two small holes right next to the pennant shapes. Do this on each side.

Using a blunt needle thread a piece of twine and tie into a bow.

Embellish the card with flowers cut with a punch and using a fine tip marker write the sentiment.

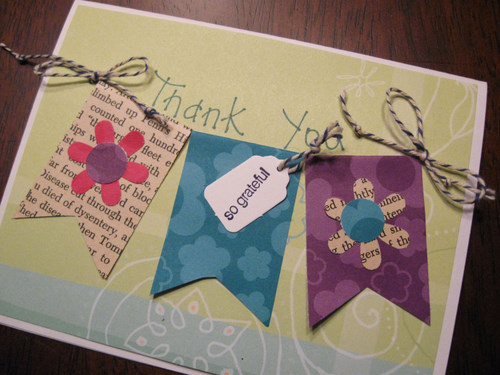
The Finished Card

Some more cards using the same materials and technique: